比叡山にて
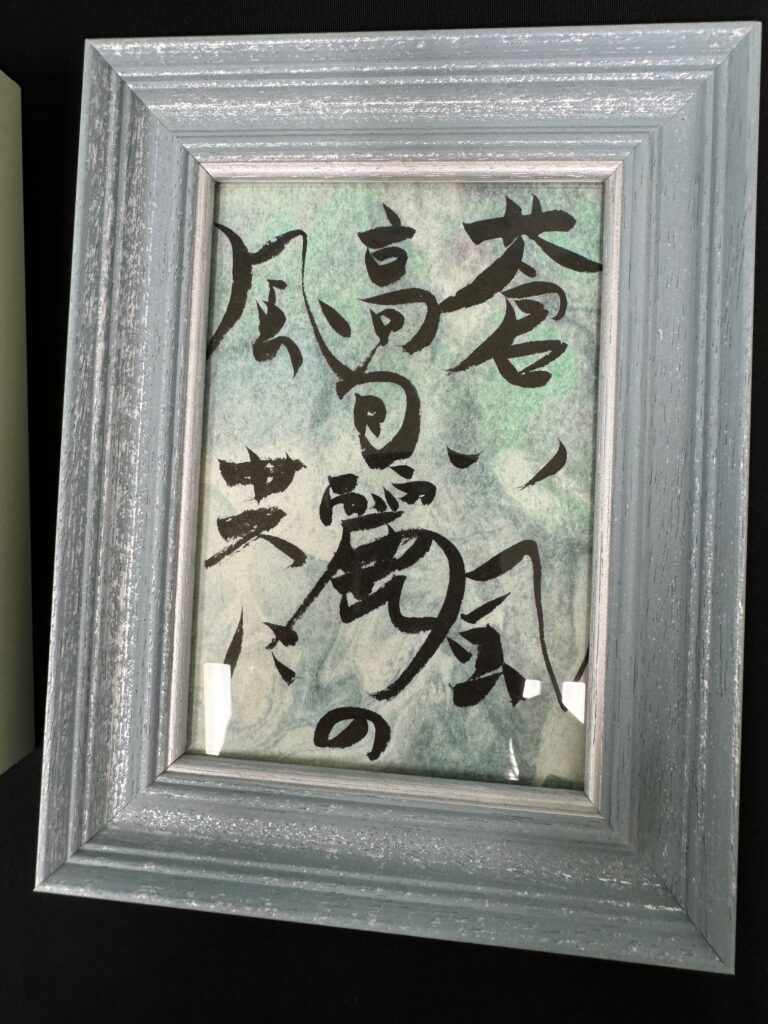
Photo by Keiko Koma
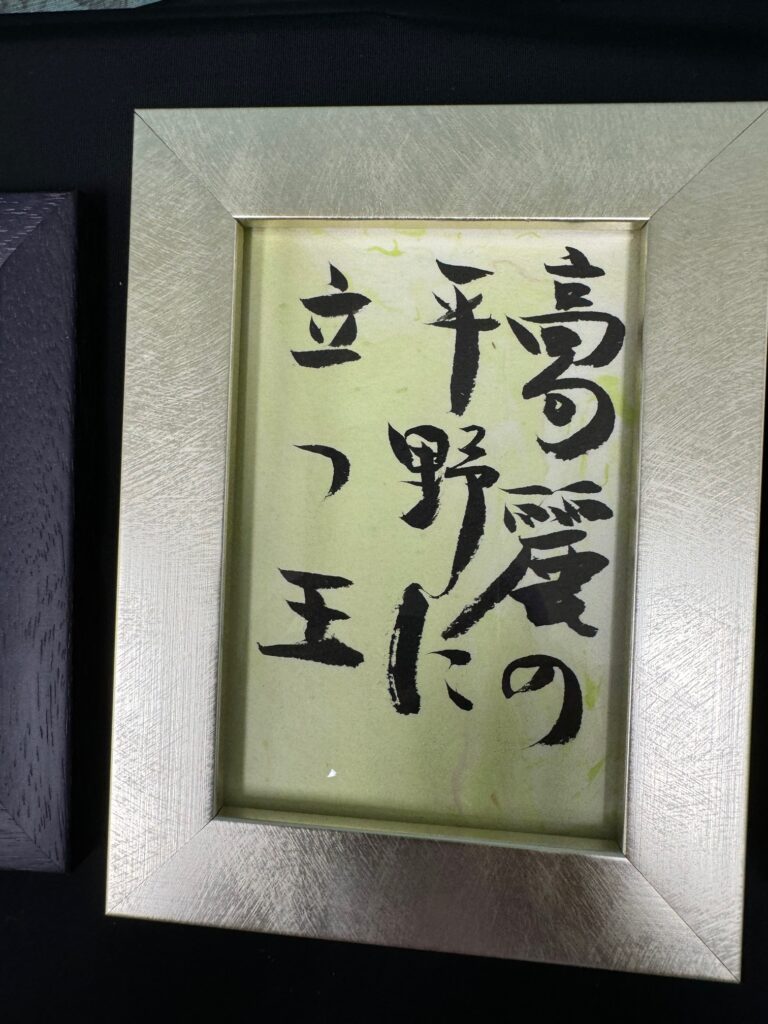
Photo by Keiko Koma
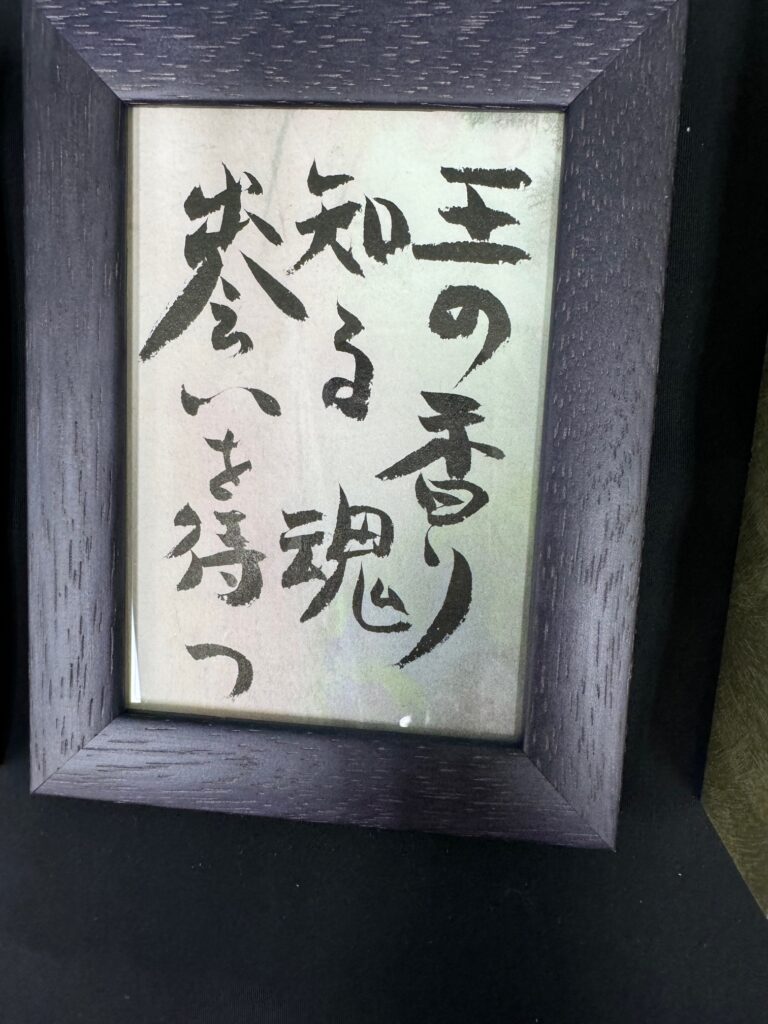
Photo by Keiko Koma
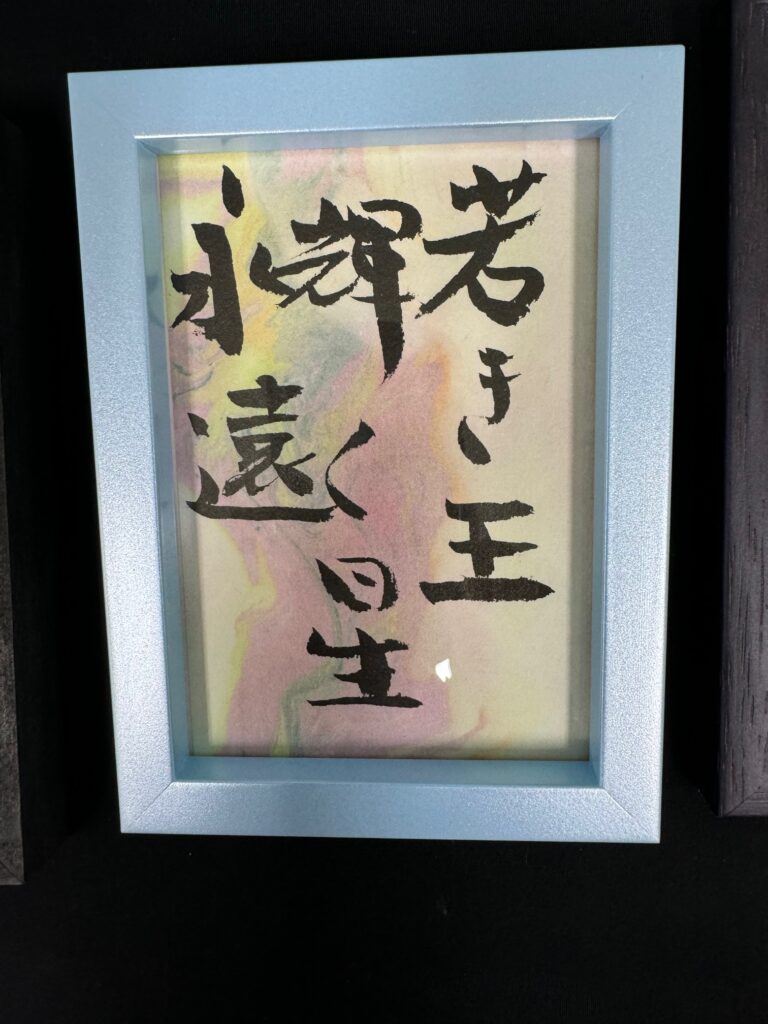
Photo by Keiko Koma
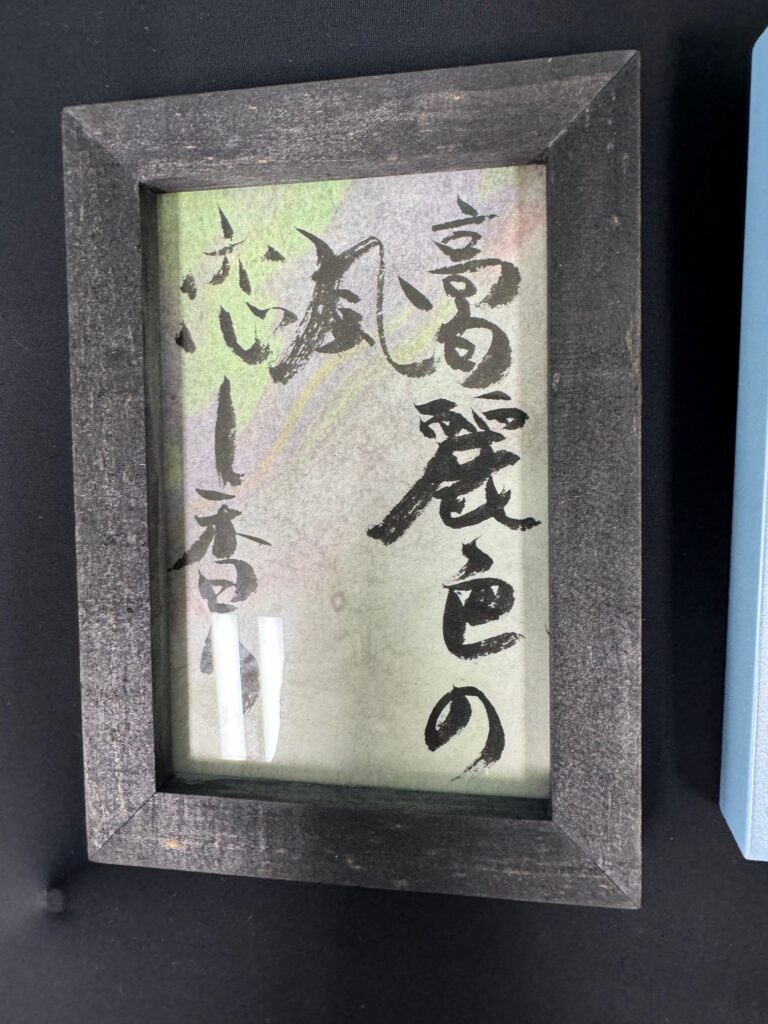
Photo by Keiko Koma
Photo by Keiko Koma
Photo by Keiko Koma
Photo by Keiko Koma


Photo by Keiko Koma
Photo by Keiko Koma
Photo by Keiko Koma
Photo by Keiko Koma
Photo by Keiko Koma
Photo by Keiko Koma
Photo by Keiko Koma
Photo by Keiko Koma